
Create a group and assign sites
Group names and memberships are private to your Hub account. You can also add a site to a new or existing group from its three-dot actions menu on Dashboard.
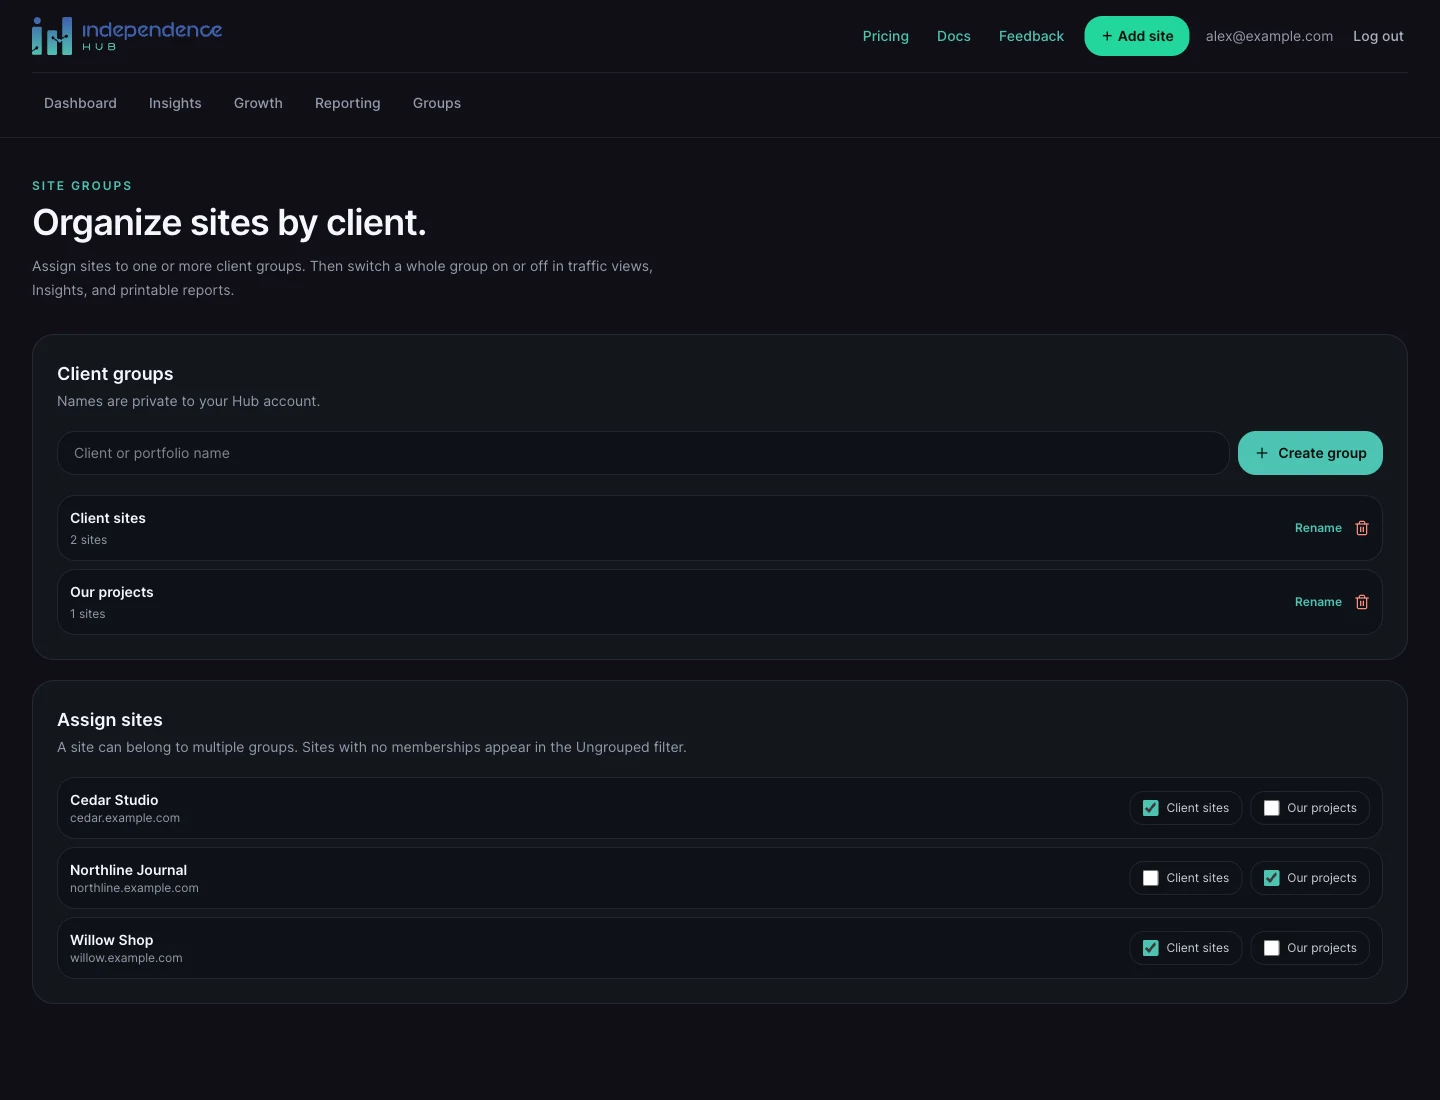
- Choose Groups in the app navigation.
- Under Client groups, enter a client or portfolio name and choose Create group.
- Under Assign sites, check the new group beside each site that belongs to it.
- Repeat for other groups. A site can belong to more than one.
Filter a group in your analytics
On Dashboard, use Portfolio view groups to filter totals and traffic. On Insights, use Insight groups. In Reporting, use Report groups to choose the sites for the brief.
A site in several groups stays visible while any of its groups is on. To exclude it using group filters, turn off all groups that contain it. Sites without a group appear under Ungrouped.
Dashboard site cards remain available even when their groups are filtered out. A group is an organizational tool; it does not give other people access to your account or sites.
Rename, remove, or delete
- Choose Rename beside a group, change its name, and Save.
- Uncheck a membership under Assign sites to remove a site from that group.
- Use the group’s delete icon and confirm to delete the group. Connections and analytics remain intact.
- A site remains in its other groups when one group is deleted. It becomes Ungrouped only when it has no remaining memberships.